Naval Aviation GB - 1/72 Seafire MkXV

A forum for UKAR Group Builds
Post Reply
User avatar
cw318is
Posts: 776
Joined: Sat 06 Aug 2011, 10:03 pm
Location: Colchester, Essex
Contact:

Naval Aviation GB - 1/72 Seafire MkXV

Post by cw318is »

Thought I'd join in the fun if thats okay! after a morning in the loft avoiding any one of the predictable 38 Fujimi Phantoms up there, whilst looking for something else I found this

Image

This will be the third attempt with a Ventura Spitfire/Seafire. Its a complete pig of a kit but I'm told the most accurate representations of most of the marks of the Spitfire and Seafire line.
DamienB wrote:Airshows aren't just about sunlit topsides chaps.

ArabJazzie
Posts: 2174
Joined: Sun 31 Aug 2008, 9:38 pm

Re: Naval Aviation GB - 1/72 Seafire MkXV

Post by ArabJazzie »

CW,
Considering what my main project is at the minute, i have read so much about these kits that i nearly bought one or 2. But the negatives you mention always scare me away! Prove em wrong chap!
Arabest,
Geoff.
52 in a year! We must be certifiable!

User avatar
cw318is
Posts: 776
Joined: Sat 06 Aug 2011, 10:03 pm
Location: Colchester, Essex
Contact:

Re: Naval Aviation GB - 1/72 Seafire MkXV

Post by cw318is »

Hi Geoff,

To be honest they are no worse then Frog or early Airfix, I like to think of them as a slightly more civilised vac! The main issue is that the parts themselves are cast with lots of detail but not very well so require a lot of cleanup. once you have taken care of them, and using a little ingenuity to get it clamped up as there are no locating pins, it goes together pretty well. Yes you'll need a bit of filler and to do a bit of rescribing, but no worse then some mainstream kits. Aside from that I think its a case of how far do you go. There is no cockpit (just a white metal control column!) and although there is a pair of lovely white metal cannons, there is no tailhook. Easy to scratch it up in plasticard should you wish but personally as it'll sit on a shelf once completed I'm not going to bother with scratching full wheel wells, probably just knock up a couple of bulkheads so you can't see all the way down the fus, seat and control column and paint the pit black. Its only 1/72 so its pretty small.

So if you are in two minds I say get yourself one, its a pretty rewarding build. Now watch me make a dogs dinner of this one live, on the internet!

Caleb
DamienB wrote:Airshows aren't just about sunlit topsides chaps.

User avatar
Deacon
UKAR Supporter
Posts: 3962
Joined: Sun 02 Nov 2008, 5:20 pm

Re: Naval Aviation GB - 1/72 Seafire MkXV

Post by Deacon »

I'm not sure I have even heard of this company, so looking forward to the build mate. :up:

One request, can you just make sure the finished build represents an aircraft operating from a carrier
as opposed to a land base. :smile: Thanks.

Deacon

User avatar
cw318is
Posts: 776
Joined: Sat 06 Aug 2011, 10:03 pm
Location: Colchester, Essex
Contact:

Re: Naval Aviation GB - 1/72 Seafire MkXV

Post by cw318is »

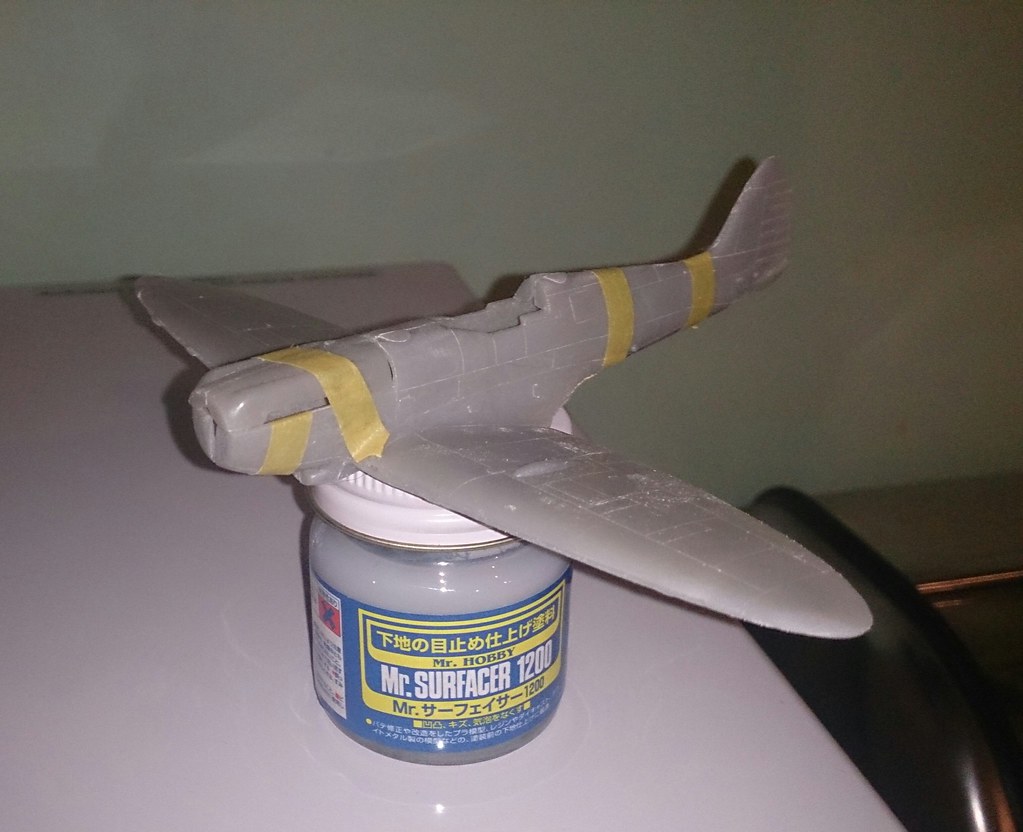
Well I've started cutting plastic! For those that don't know, Ventura stared out in the early 90's to offer a lot of mid to late mark Spitfire kits, which then evolved into Seafire kits and are now manufactured and marketed by Jays to offer every production mark, and with a bit of cross kitting some of the experimentals or field modified examples. The kits are very basic and in this day and being limited run require a great deal of prep work, but Ventura insisted on accuracy so the scale shape is spot on. I have a couple of CMR Spitfires and I can honestly say that they seem to be engineered in exactly the same way, but cost about 3 times the price.

Box contents, with instructions;
Image
Untitled by cw318is, on Flickr

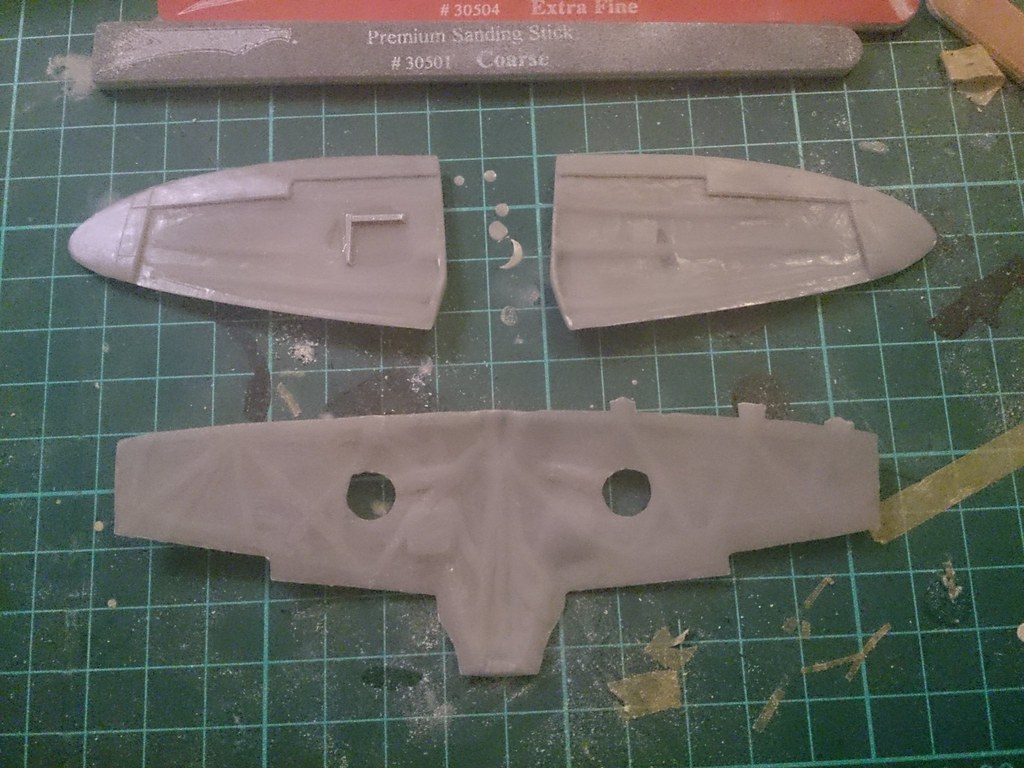
The plastic bags contain 2 clear vac windscreens, some etched mesh for the radiators and white metal control column and undercarriage legs. Note lack of cannons, tailhook, cockpit and aerials - these will all need to be scratched.

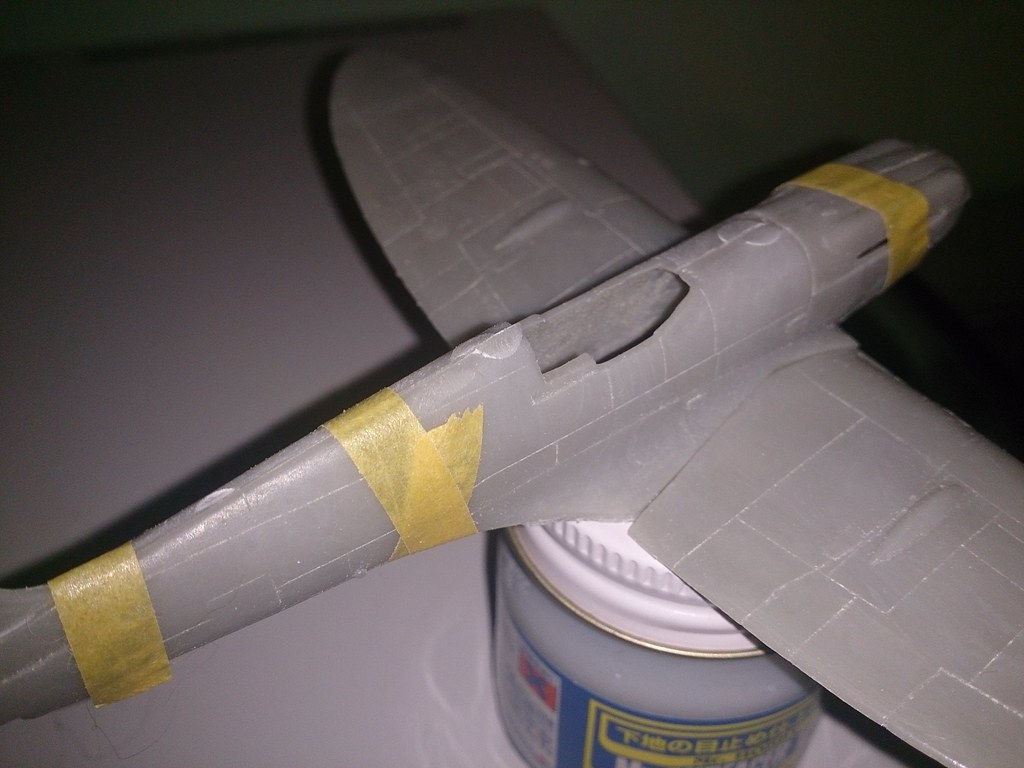
I started out on the wings. The plastic is very thick but quite easy to sand. Due to the moulding methods which is more akin to casting rather then injection moulding there is a lot of plastic to be removed. I started out by seperating the 3 parts with an xacto saw then sanding down the sprue stubs with an emery file, switching to squadron sanding sticks course to medium to get it close enough for now. It's not just the obvious areas that need sanding. Due to the thickness of the casting trees you need to remove a lot from the interior faces of the wings as well, in addition to removing a fair bit from the root on the upper wing and the top of the radiator blisters so they fit together. In addition, most of the inside face of the upper wing needs sanding back and cleaning up so the join at the trailing edges are tight. Because the ailerons and flaps are moulded onto the upper wing the trailing edge of the lower wing also needs to be trued up, as do the wingtips. I would say that this bit is critical as everything else can be sorted out later. I'll be reprofiling the leading and trailing edges once they are all joined, then rescribing. The bonding surfaces are just front and back, and inboard of the wingtips. It's a bit of a given that there will be a gap on the wing/fus join so I've tried to get everything straight at the tips. I've tried to show in this photo the main areas that need attention; (left wing is done, right wing is to do).

Image
Untitled by cw318is, on Flickr

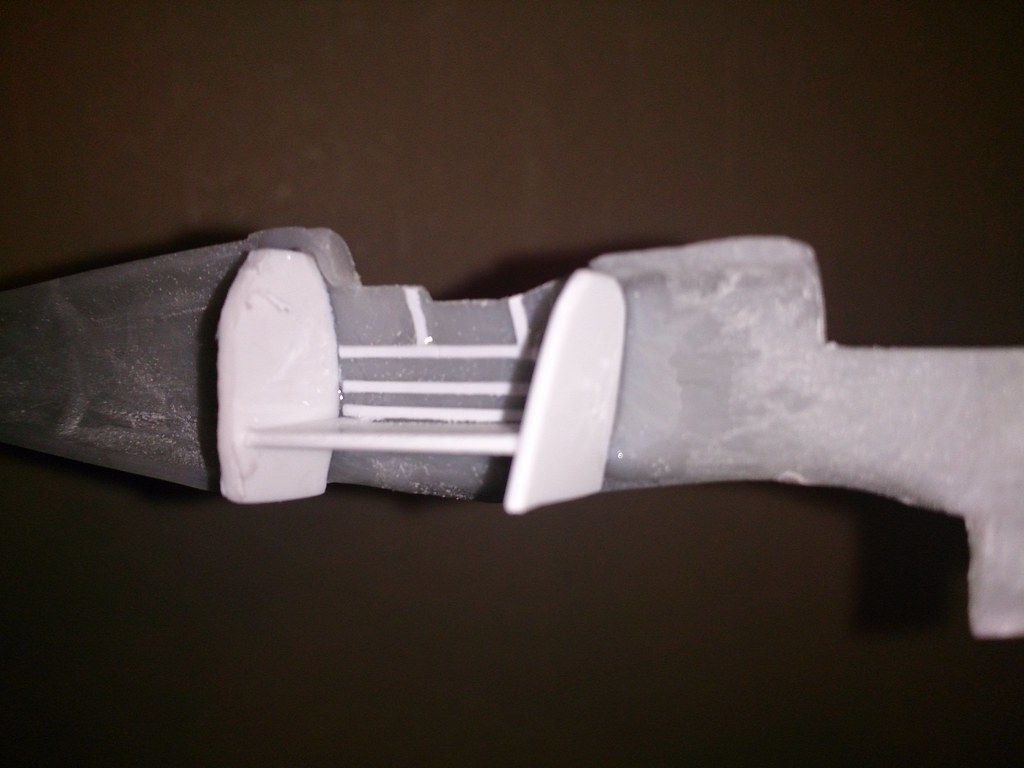
I flattened out and added in a small representation of a well but thats as far as I'm going! Really I only boxed them in to stop light shiningthrough. Both wings got the same treatment and the bays a quick brushing of tamiya XF-16 Flat aluminum, and thats where I am now.
DamienB wrote:Airshows aren't just about sunlit topsides chaps.

User avatar
cw318is
Posts: 776
Joined: Sat 06 Aug 2011, 10:03 pm
Location: Colchester, Essex
Contact:

Re: Naval Aviation GB - 1/72 Seafire MkXV

Post by cw318is »

Actually just a question on the scheme, my plan is to do PR474 of 806NAS embarked on HMS Glory however the instructions with the decals say early postwar low demarcation extra dark sea grey and sky undersides, but the same aircraft is on the the freightdog decal sheet for the same period, but sporting the low demarcation temperate sea camoflage, and the only photos I can find of an 806 Seafire shows the high demarcation edsg/sky scheme? Can anyone throw any light on what it should be? :dunno:
DamienB wrote:Airshows aren't just about sunlit topsides chaps.

User avatar
Deacon
UKAR Supporter
Posts: 3962
Joined: Sun 02 Nov 2008, 5:20 pm

Re: Naval Aviation GB - 1/72 Seafire MkXV

Post by Deacon »

It's great to see this started mate.

Thsi kit looks a bit more of a challenge than my usual injection stuff so good luck with it. :up:

As for the scheme question, I'm sorry I don't know the answer, hopefully someone will.

Alan

User avatar
cw318is
Posts: 776
Joined: Sat 06 Aug 2011, 10:03 pm
Location: Colchester, Essex
Contact:

Re: Naval Aviation GB - 1/72 Seafire MkXV

Post by cw318is »

I think I'll use a bit of artistic licence and keep with the low demarcation EDSG scheme then as I think its one of the nicest schemes. In 1946 there wasn't anyone to go and shoot at for these guys so they may have played around with different schemes! Did a little more last night, now have the wing joined along with the upper engine cowl and started trimming up the fuselage sides ready to have some bulkheads fitted. Couldn't resist the urge to tape it together to see how it looks!

Image
Untitled by cw318is, on Flickr

Starboard wing root looks like it's going to be a bit of a swine on this one....
Image
Untitled by cw318is, on Flickr
DamienB wrote:Airshows aren't just about sunlit topsides chaps.

User avatar
Deacon
UKAR Supporter
Posts: 3962
Joined: Sun 02 Nov 2008, 5:20 pm

Re: Naval Aviation GB - 1/72 Seafire MkXV

Post by Deacon »

That looks a half decent fit mate, apart from the starboard side, as you pointed out.

User avatar
cw318is
Posts: 776
Joined: Sat 06 Aug 2011, 10:03 pm
Location: Colchester, Essex
Contact:

Re: Naval Aviation GB - 1/72 Seafire MkXV

Post by cw318is »

The fit is as good or as bad as you make it! For the starboard root to have such a bad gap I've obviously made a mistake somewhere. If you had a prestine first release I dare say it would drop together a treat, but with the amount of prep you need to do to get the parts useable unfortunately its going to need a fair bit of filler! Currently the wings have a smear of filler on the leading and trailing edges and a few bits of mr surfacer around the control surface and wingtip joins, whilst they are curing I'd thought I'd make a start on the fuselage. As this is a highback Seafire and will be finished with a closed canopy you arn't going to see a lot going on. All I did was thin out and flatten the cockpit walls and stuck a bit of evergreen strip on, framing where the door should be, and make up a couple of bulkheads really to give everything a bit of rigidity. With the high backs from what I can tell the armour plate with the headrest on sits level with the back of the sliding canopy section, then the seat sits a couple of inches in front of that. I plan to make up just the top section of the armour plate and a rough outline of the instrument panel. The panel on a Spitfire has a horseshoe cut out at the bottom so providing I incorporate this it should be enough from the small amount you can see. The current floor is more of a brace to be honest and somewhere for the control column to mount to (Ventura give you a nice white metal part but don't give you anywhere to put it! The seat will be a reddish brown colour as most Spitfire seats seem to be so I would have thought Seafire seats would be the same. The kit part has the correct shape but no detail, so I've stuck a bit more evergreen strip on to look like the padding which is in some photos. So this is where I am now:

Image
Untitled by cw318is, on Flickr
DamienB wrote:Airshows aren't just about sunlit topsides chaps.

Post Reply