J, I'd be happy to. That way I can bring you a little 'thankyou' from 788 in person...
Brenden, cheers! We'll keep plugging away at her.
Speaking of which, who opened their big mouth about wanting more Sundays so they could get more updates to read? Well you got your wish, today was an honourary Sunday as my job for today at work fell through, so I checked they had space to sneak little old me onto today's COVID precautions staff list at YAM and off I went! meaning of course I can now bring you...
02/09/2020 Update
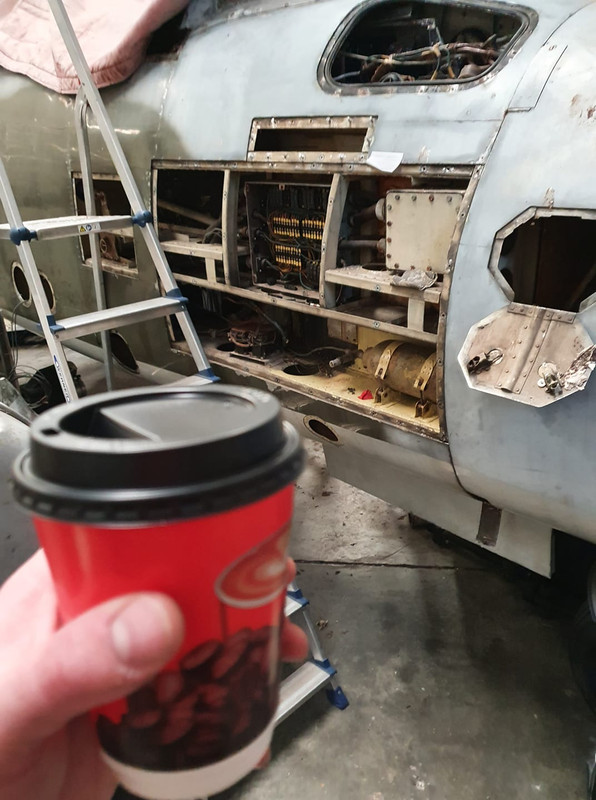
Of course, certain priorities had to be taken care of on arrival...
Then after Sunday's achievements, with this being an unscheduled work day I had the luxury of being able to sit down, take a moment, and think to myself "what do I feel like doing today?". For some given the weather this morning lounging around on the grass sunbathing would have seemed like the right thing to do, but not me. I decided to not go cave dwelling in either the radio bay or the cockpit, while there are jobs to finish on both the panel wiring and install and the rudder pulley brackets I have tweaked a muscle in my shoulder, and I just really didn't feel like it today. One thing I did do while I was considering the deeds of the day was drag out some plastic sheet, sat a couple of the panels most stubbornly refusing to shed their old paint on it, and used them as test pieces for our new Silmid paint stripper, kindly provided for us by the guys down at LAHC.
I figured give them a thorough coating and leave them to think about things for a while... but results were soon to be seen!

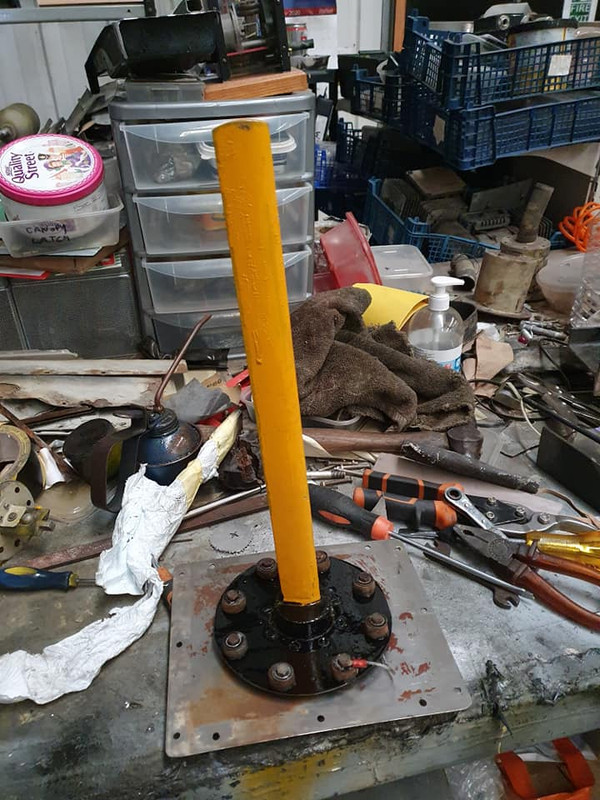
I decided I felt like a nice "stand at the bench and make something" kinda job today. Fabricating new mounts for the starboard outer Rebecca aerial? Yeah, why not! The old one had literally fallen out when its mounting plate had mostly rotted away, which is less than ideal. Its base had also split very badly, but I was able to retrieve the base from the Jet Provost Rebecca aerial which had been masquerading as 788's dorsal radio aerial for years. So, the base went to 788's original Rebecca aerial blade, and the JP blade went to become a replacement for 788's missing IFF aerial, under the nose. Confused yet?! Here's the 2 aerials getting a coat of yellow.
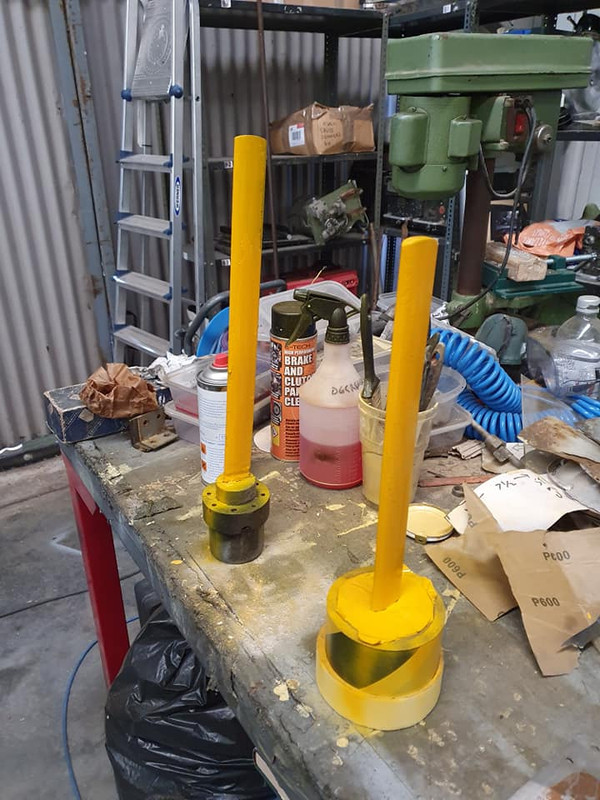
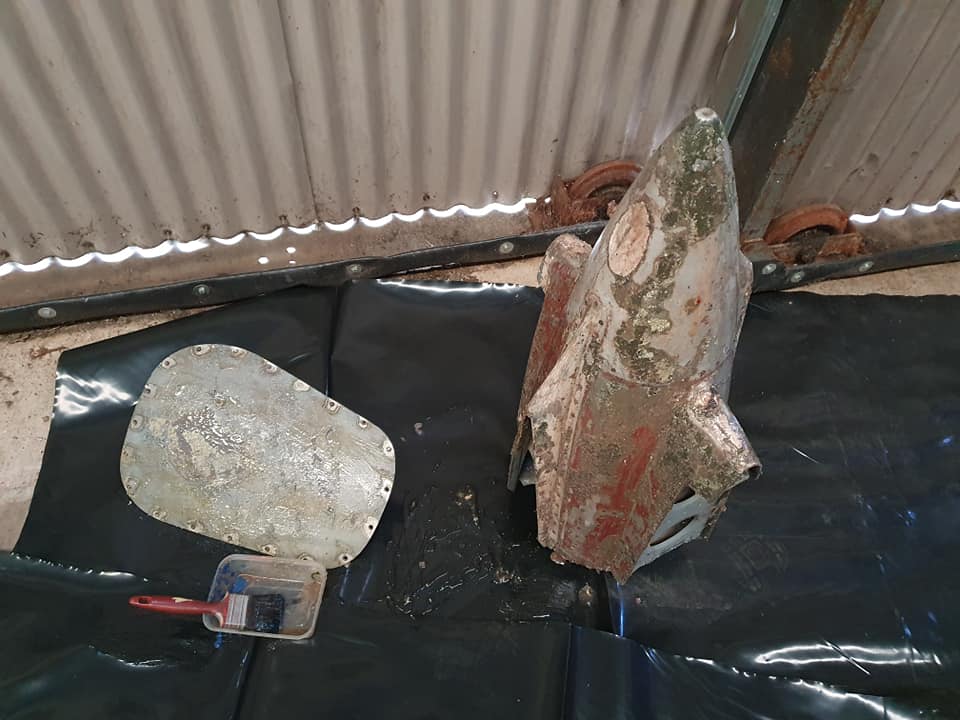
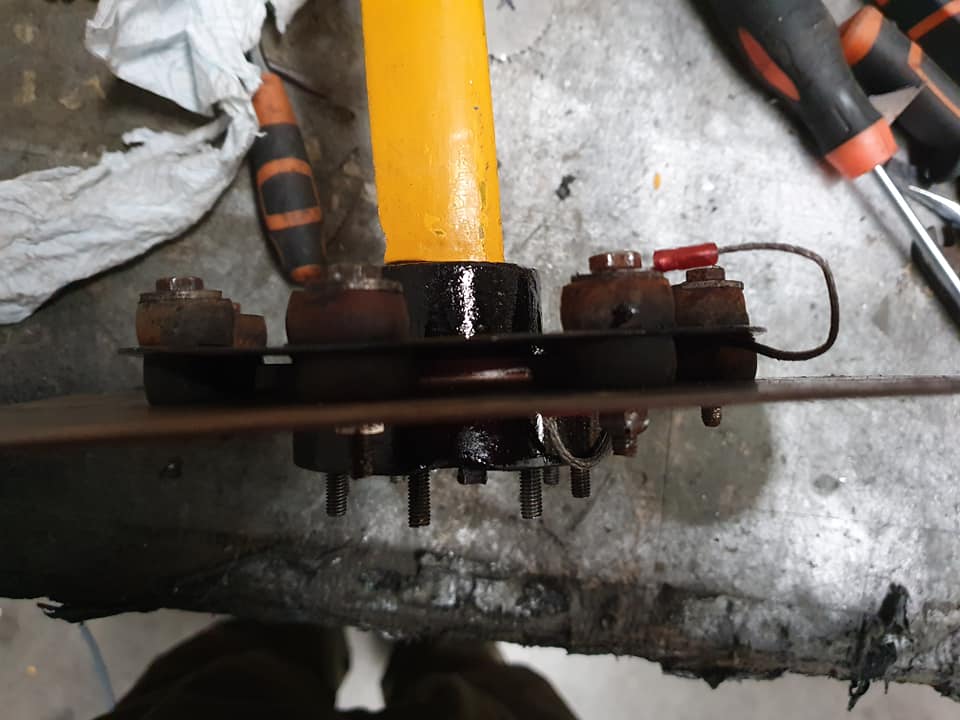
Furthest from the camera is the Rebecca aerial, nearest is the (now) IFF aerial with the baseplate I made fitted. On our shelves I found the stainless steel Rebecca base plate, the pathetic mortal remains of the mounting plate, the old and terribly split Rebecca aerial base and all the original anti-vibration rubber mounts. They looked nasty...

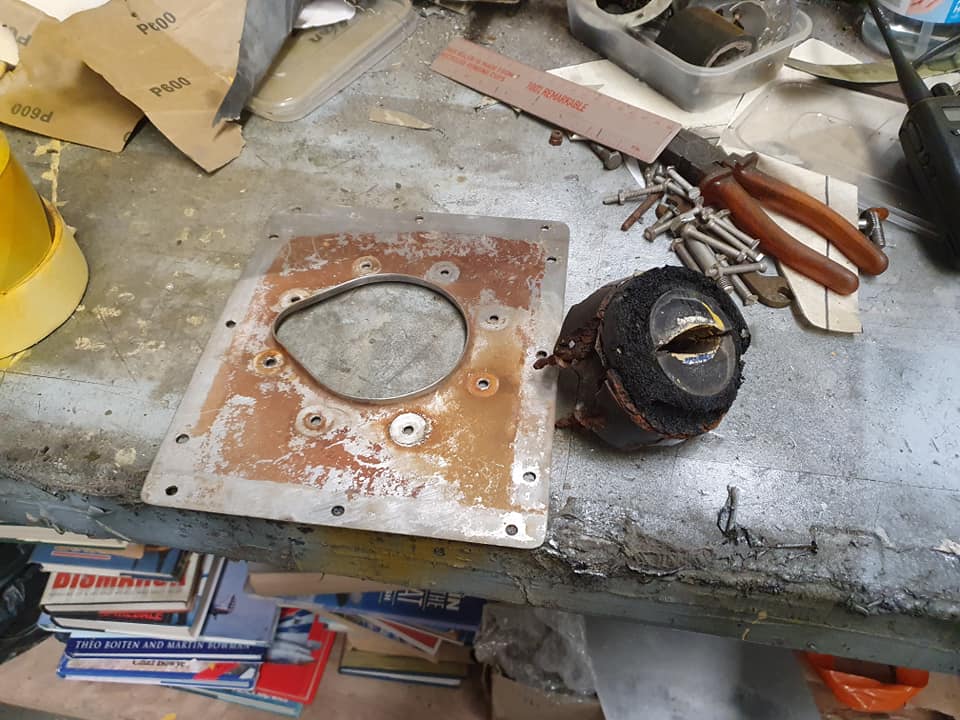
First job was to split the rubbers away, then see how many nuts, bolts, washers and bolt sleeves I could salvage. Not an easy task...
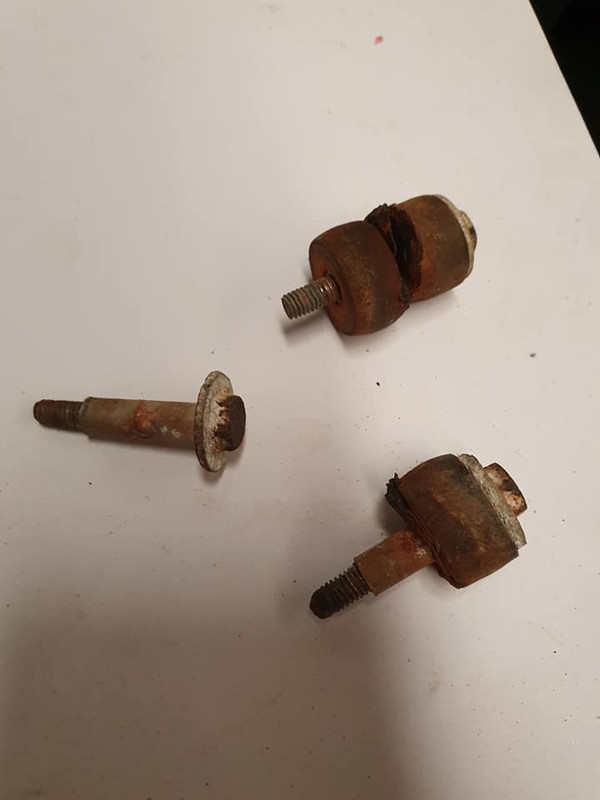
These 3 were the worst offenders. I decided to let them enjoy some oil, and think about their life choices while I went off to find some lunch
Before seeking fodder, I went and checked and scraped on the paint stripper test specimens


Certainly looking more hopeful than the last stuff we were using... Anyway lunch deployed, it was back to measure, cut, drill, paint, and fit a new aerial mounting plate, using alloy rather than steel this time. This took a while, but it turned out well. Our bench pillar drill is a godsend, making chain drilling the large hole for the aerial base so much easier than a hand drill would have been. I was able to save a surprising amount of the original mounts, all the rubbers, all the bolt sleeves, and even a few of the nuts and bolts!
There, it's all friends again, and even has a shiny new earth braid fitted!
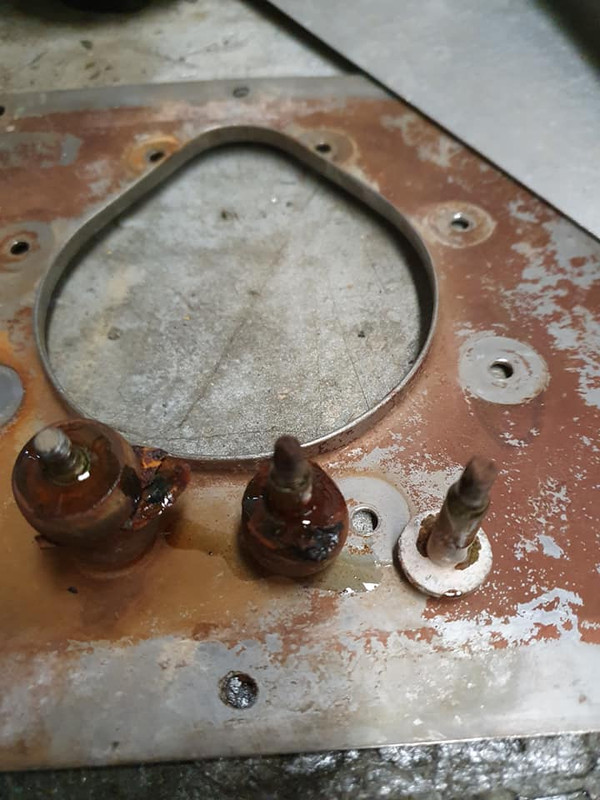
So, time to chuck it back in the wing... The bay looked really tidy, at least it did once I'd ripped out that comedy foam "seal" stuff someone had araldited in...
New foam made, and in went the aerial!
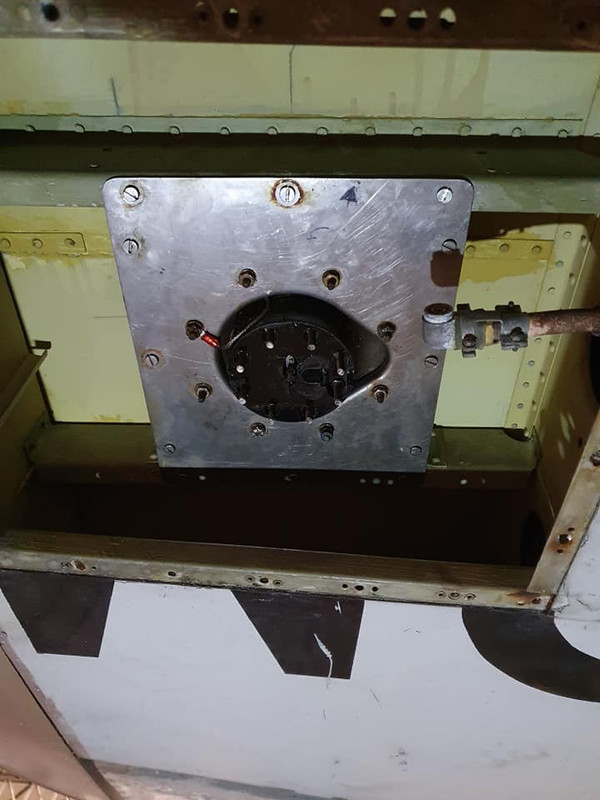
Sadly, the previous "restorers" of the aerial set had butchered the sealing plate as you can see, so I'll need to make and fit a replacement to keep the weather out of the bay. Probably with the aid of some PRC sealant, just to be sure...
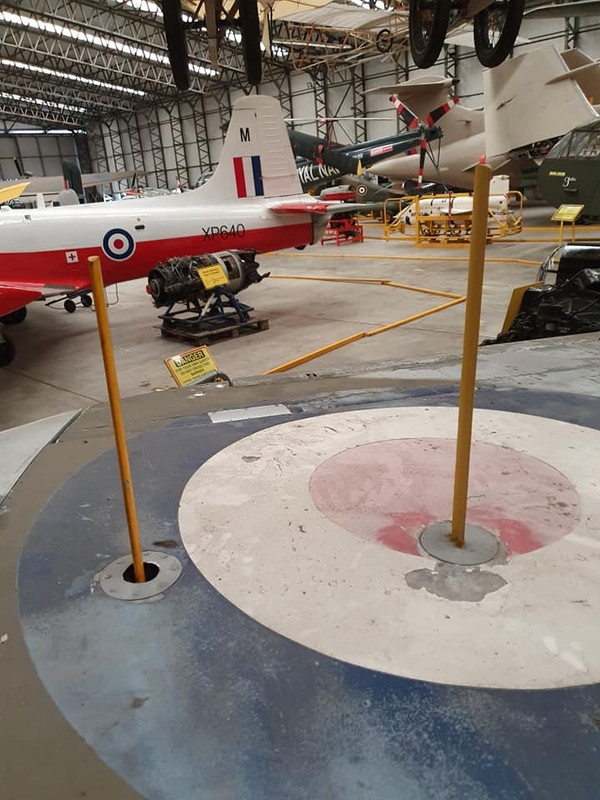
But that wing looks much better with the correct number of aerials fitted now!

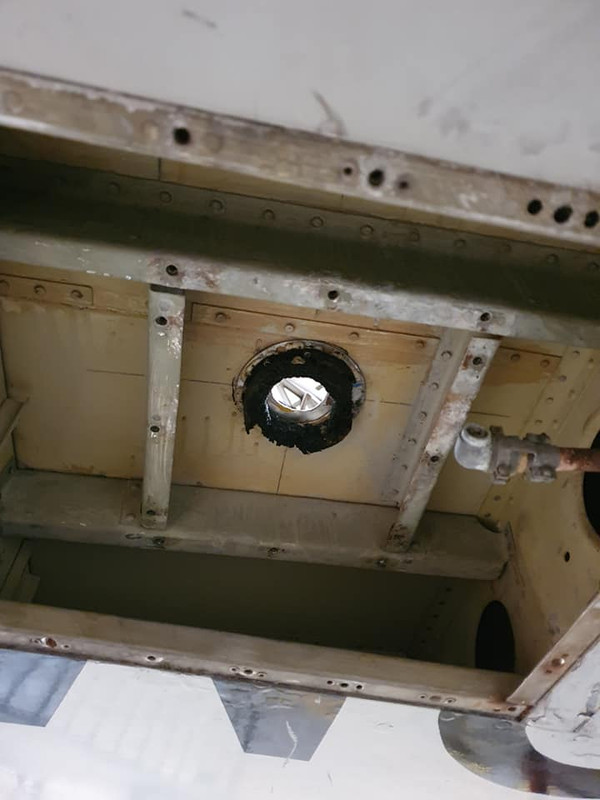
Then, the day was nearly done. I just had time to test fit and check on the hole alignments of my IFF aerial.
Perfect! With 20 minutes left, I removed the access hatch from the belly panel under the cockpit floor. Here it is blinking in the daylight for probably the first time since 1965
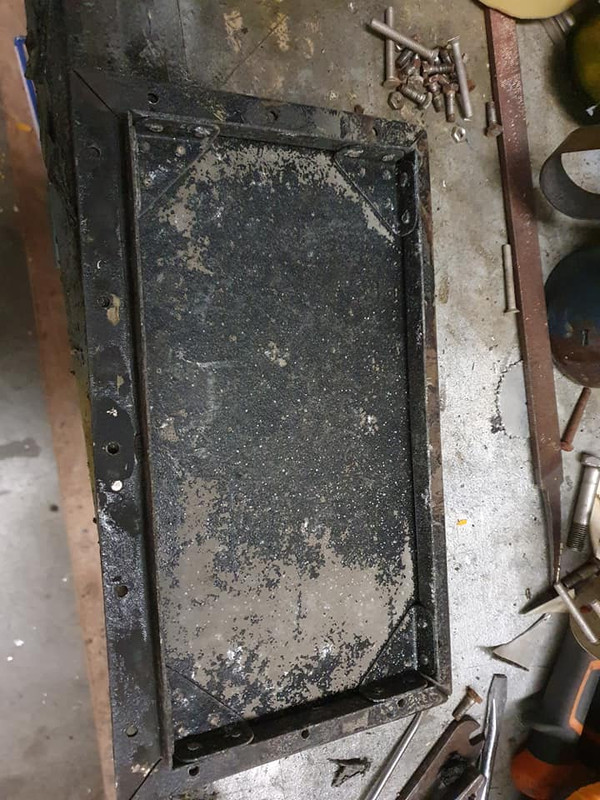
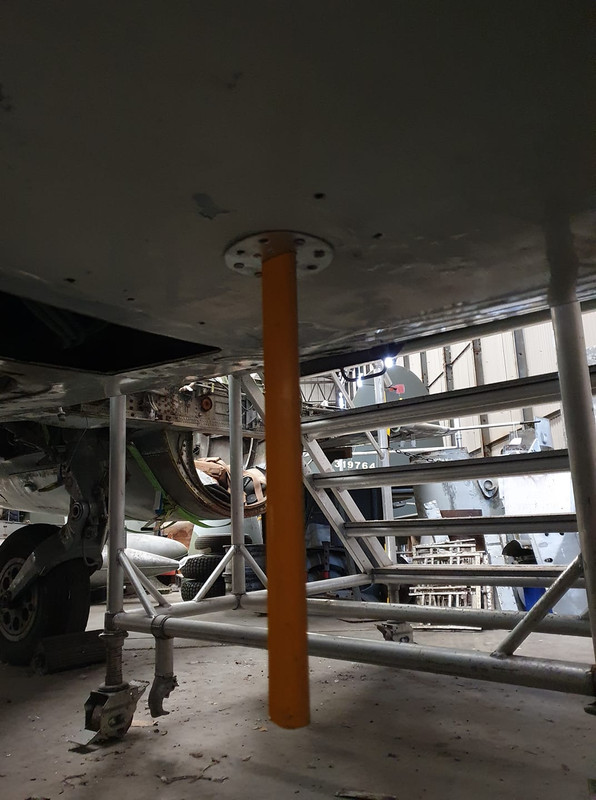
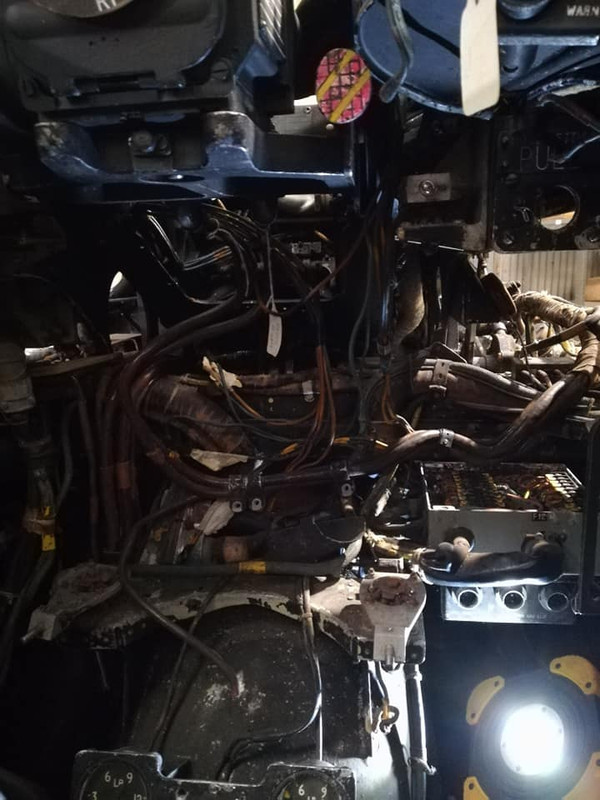
This panel accesses the bay the IFF aerial mounts in. This bay continues forward into the battery bay, eventually opening out into the nosewheel bay. Here is the view from the belly access panel looking forward...

...and from the nosewheel bay looking aft
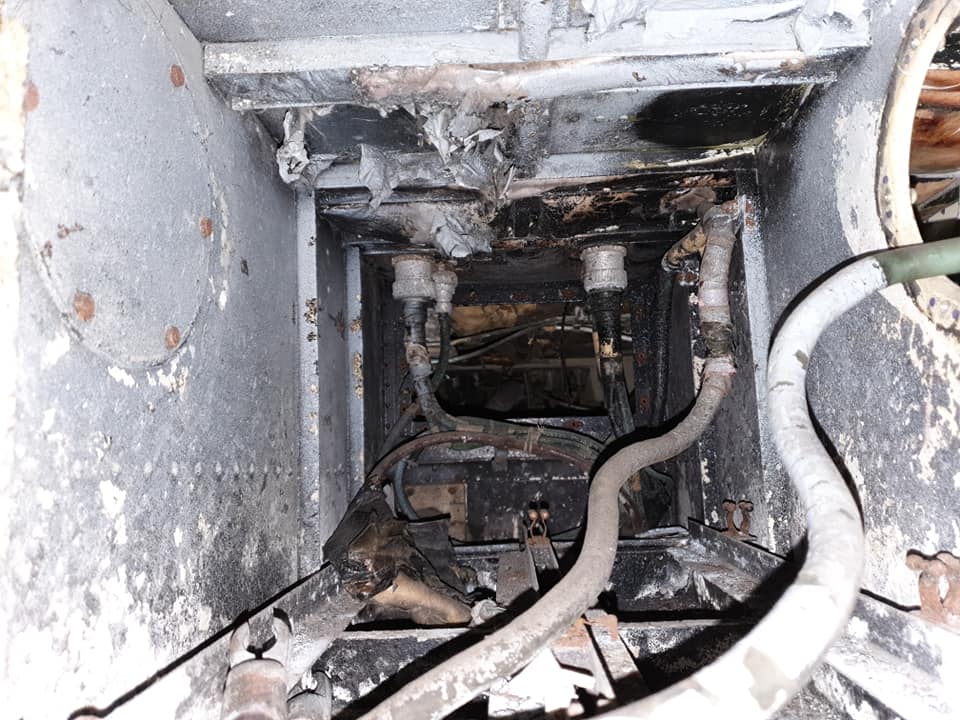
It all looks perfectly happy, at the weekend I might give it a clean and a vac out, then I can get my paws in with the securing nuts for the IFF aerial and that's yet another job ticked off!


 all said!

